

I am so excited about my new adventure with flat diapers! Some will think I’m crazy but I can not wait!!! I have recently started watching videos how to fold a flat and find it pretty easy once you’ve done it a few times (tell that to my husband though, because he’s acting like it’s the end of the world 😉 ) I have put together a picture tutorial on a couple different folds I think may work good for my newborn that will be here in October!
First, let’s run over really quick what a flat is in case you’ve forgotten (because it’s not like there’s a million different types out there right?!) A flat is a large piece of fabric, normally cotton in the shape of a square. To me it resembles a large cloth napkin. You will need either diaper pins (which no one seems to use anymore) or a snappi (which is a lot like an ace bandage) and a waterproof cover. I suggest a brand called Bummis. They are one of the cheapest and I like them a lot.
Origami Fold
Step 1: Lay your flat out on the floor or changing table.

Step 2: Take the bottom and bring it to the top, folding it in half.

Step 3: Take the left side, bring it the right, folding it in half again.

Step 4: There will multiple layers because you’ve folded it twice, take the top layer on the right, top corner and pull it over. It will create a triangle shape.


Step 5: Flip the ENTIRE flat over.


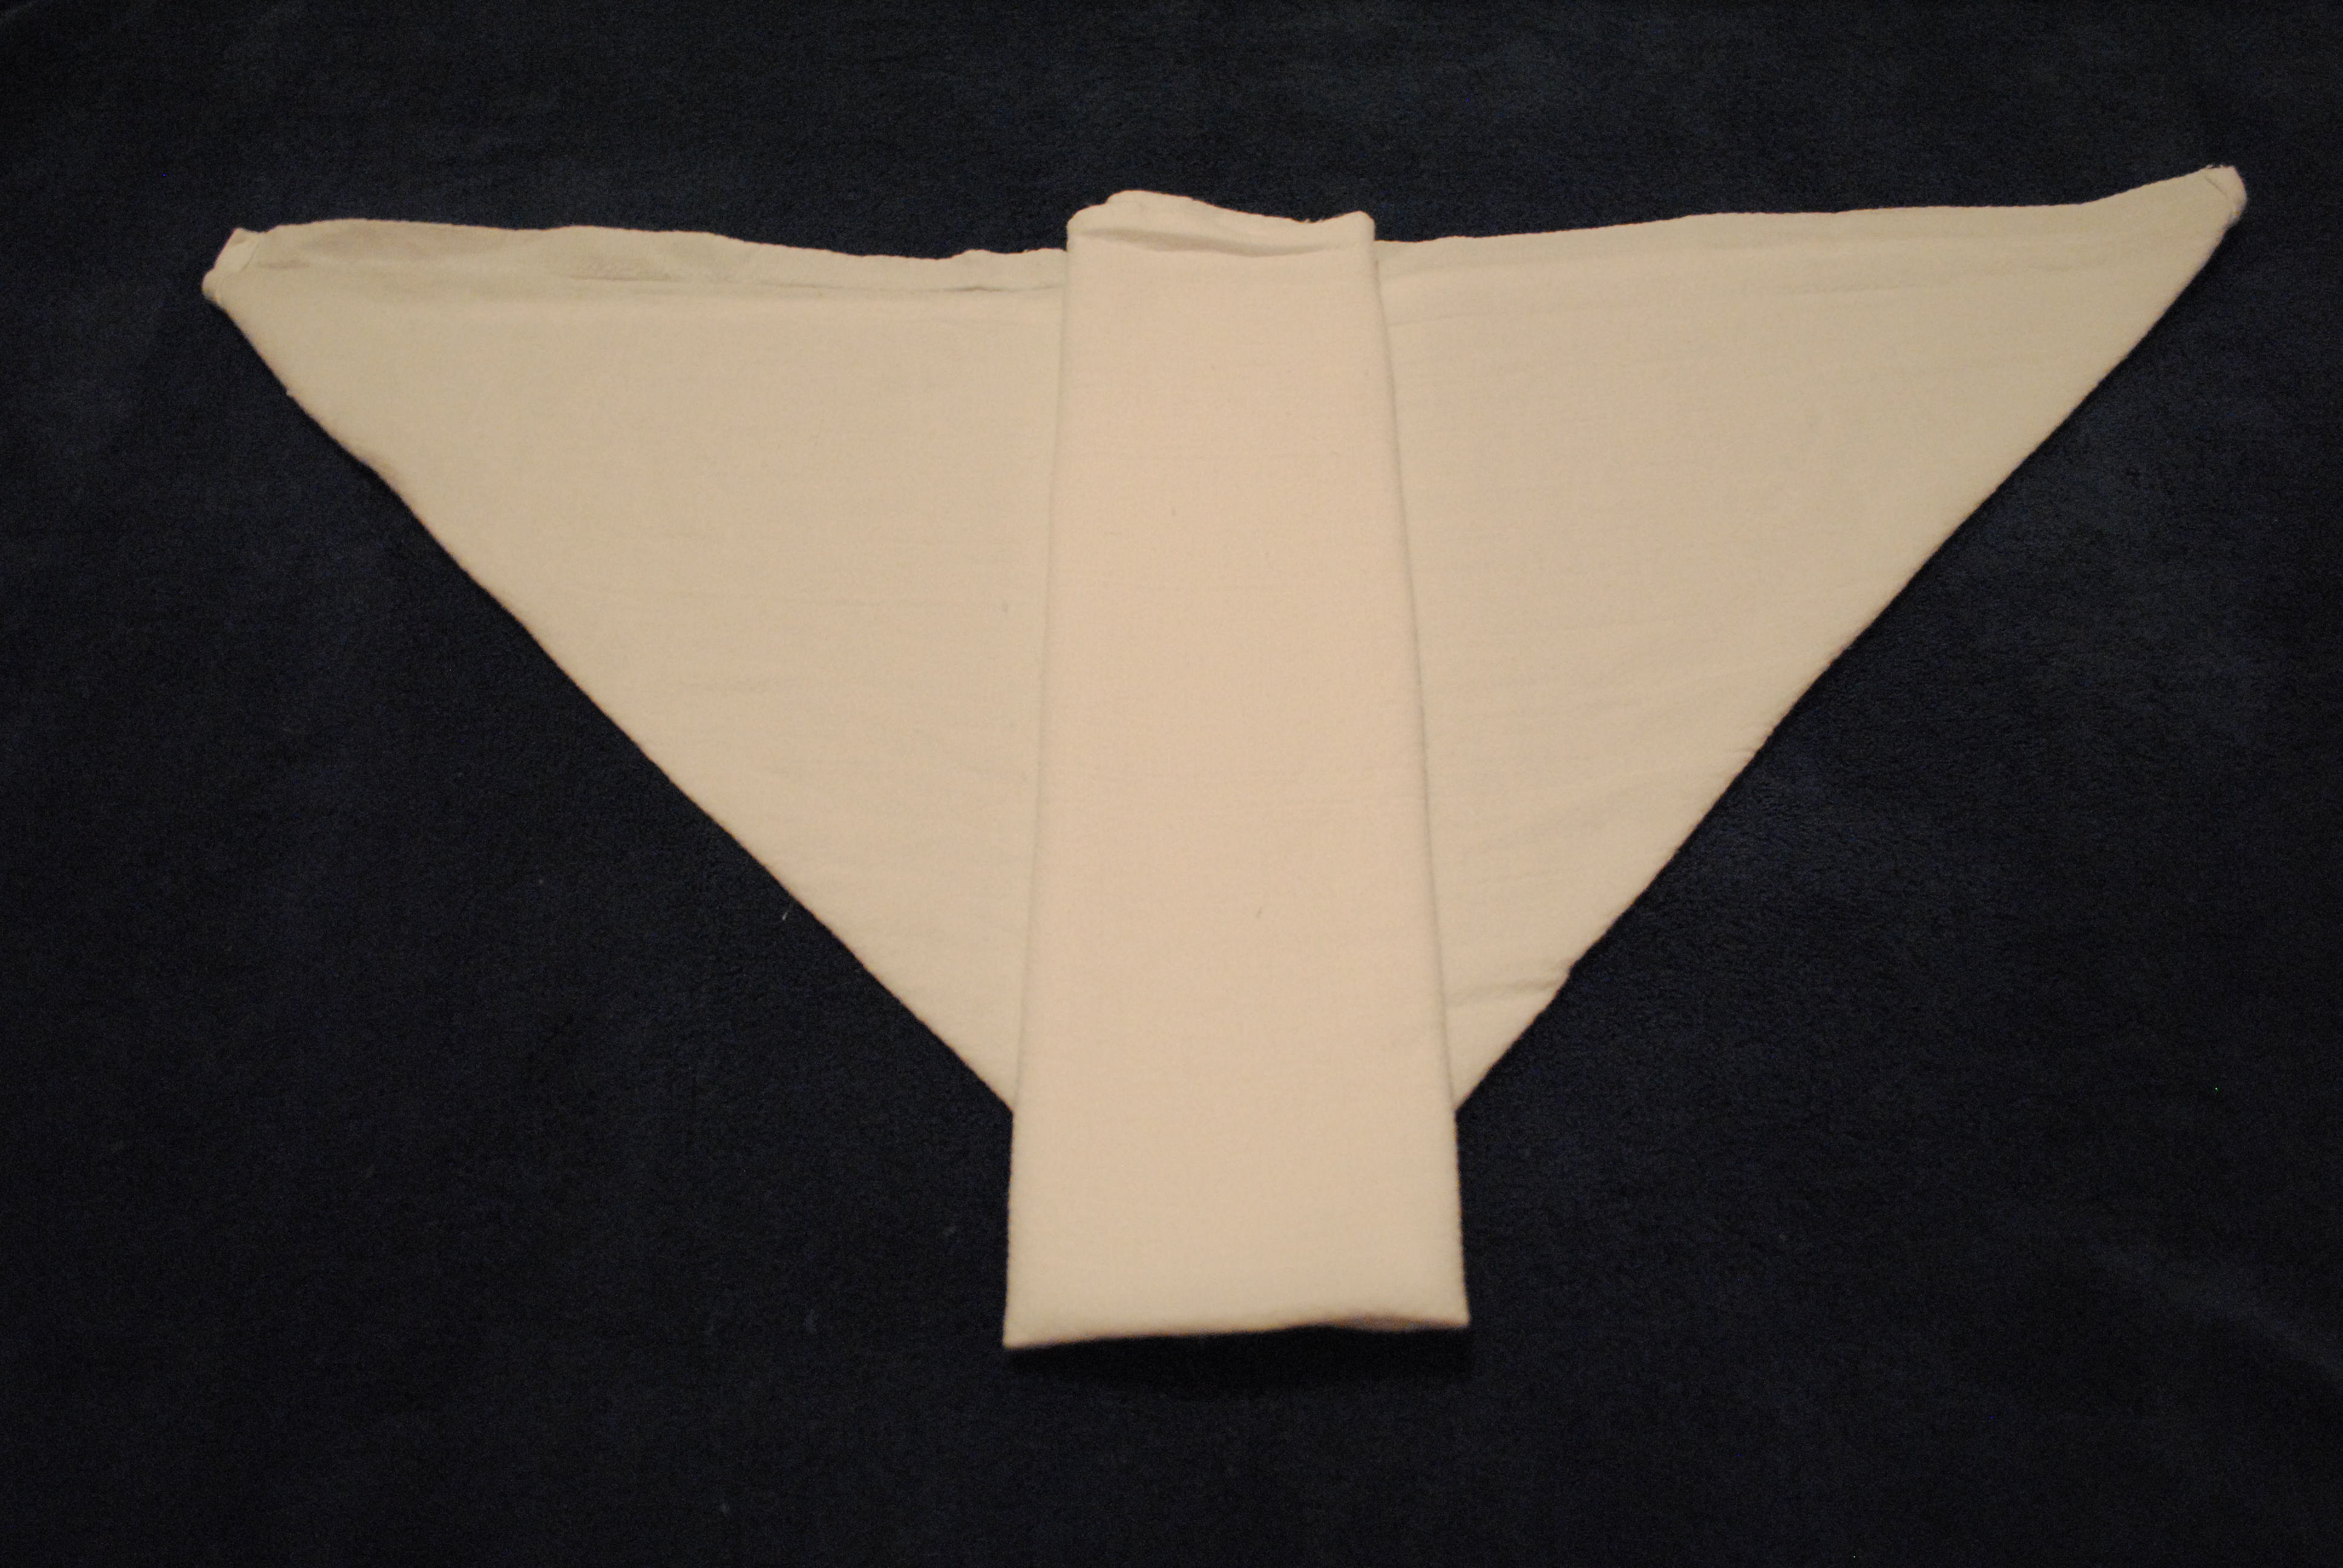
Step 6: You are now going to create a type of fold in the middle that will soak up moisture. You will fold the left, square side over three times. When you are finished, you will have a triangle with a padded rectangle in the middle.


Step 7: Now you’re going to place this diaper on your little one. If you have a very small one you will need to do a few extra folds. These include folding the top over a little once or twice to make the diaper shorter.
 You will want to place your baby over the diaper.

Step 8: Bring the folded middle to the top of your baby’s belly. If it is too long, you can fold it once to shorten it. (Some chose to not fold the top back part over at all, and instead fold the front over to create even more layers of absorbancy.
 Tip: While practicing doing this, I have found that it will probably be necessary to fold the edge along the legs in once to make sure there is a tight seal around baby’s legs.
Step 9: Take the edges of each tail of the diaper and fold them once.

Step 10: Bring each tail to the middle of the diaper. Then using a snappi or pins, fasten it together.

You are now done! Simply put a waterproof cover over this and you’re set to go. 🙂
Kite Fold
Step 1: Fold your diaper twice like the previous origami fold.


Step 2: Turn the square until it makes a diamond.

Step 3: Bring the left corner to the middle of diamond. Then do the same, with the other side, making it into the shape of a kite.


Step 4: Bring the top down to make a flat line.

Step 5: It is now ready for baby. Place baby on top of the diaper and bring the bottom to the top of baby’s belly. You will probably need to fold it in once.

 Tip: Once again, make sure you fold the sides around the legs in tight to make a seal.
Step 6: Bring the tails over and fasten them with a snappi or pins.

This fold is now complete! Place a waterproof cover over the diaper and viola!
